Trézor.io/Start® – The Smartest First Step for Securing Your Crypto Assets
The world of cryptocurrencies is booming—but with opportunity comes risk. Hacks, phishing scams, and stolen private keys have cost millions. That’s why securing your digital assets with a Trézor hardware wallet is a critical move. But where should you begin? The answer is simple: Trézor.io/Start®.
This official portal is the gateway to setting up your hardware wallet safely, ensuring you're not falling prey to malicious clones or dangerous shortcuts.
Why Trézor.io/Start® Is Non-Negotiable
When you buy a Trézor device, you're investing in one of the most secure ways to store cryptocurrency. But that investment is only as strong as the setup process. Trezor.io/start provides verified tools, step-by-step guidance, and secure software downloads straight from the source.
Trying to configure your wallet through a third-party site or outdated YouTube tutorial? That’s a security nightmare. Stick with the official path and start smart.
A Smooth Onboarding Experience in 4 Steps
Let’s walk through the setup process at Trézor.io/Start®, so you know exactly what to expect.
1. Visit the Official Portal
First, go to Trezor.io/start. Select your wallet model—either Trézor Model One or the advanced Model T—to get tailored setup instructions.
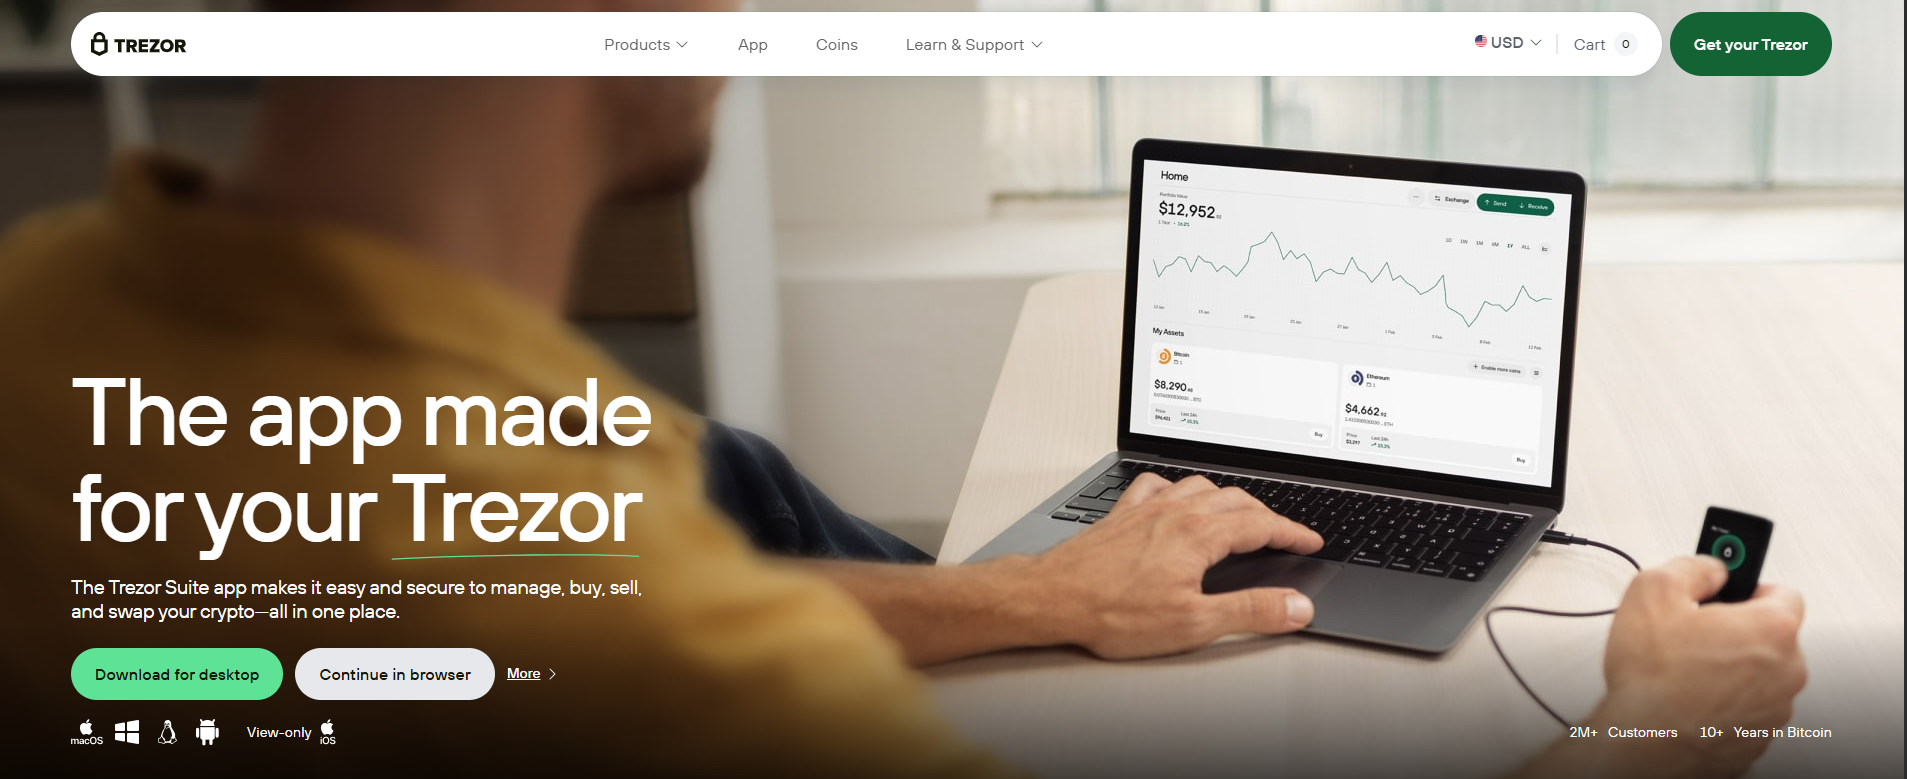
2. Install Trézor Suite
Trézor Suite is the official desktop app where you can manage your crypto portfolio. With a clean interface and privacy-first features, it helps you:
- Send and receive crypto securely
- Track your portfolio’s value
- Use built-in privacy tools like Tor routing
We’ve covered its benefits in our guide on Trézor Suite wallet management.
3. Download and Install Trézor Bridge
If you plan to use your wallet with a browser rather than Trézor Suite, you’ll need Trézor Bridge—a secure communication layer between your browser and your Trézor hardware wallet.
Check our article on the function of Trézor Bridge to see how it ensures safe interactions with your crypto wallet in any web-based environment.
4. Create and Secure Your Wallet
Once you’re connected:
- Follow prompts to generate a new wallet
- Write down your 24-word recovery seed (on paper only!)
- Set a unique PIN on your device
Tip: Never take a photo or digital copy of your seed phrase. It should be handwritten and stored offline in a safe place.
Need guidance on this part? Read our Trézor recovery seed best practices.
Why the Trézor Hardware Wallet Stands Out
Unlike hot wallets or mobile apps, the Trézor hardware wallet keeps your private keys completely offline. This “cold storage” method makes it virtually immune to malware, phishing, or remote hacking attempts.
Key Features of Trézor Hardware Wallets:
- Offline key storage and PIN protection
- Easy firmware updates via Trézor Suite
- Passphrase-protected hidden wallets
- Full transparency via open-source code